Saturday, December 20, 2014

Paleo Meals-To-Go Review

I recently had the pleasure of trying out some freeze-dried Paleo meals from a new-ish company called Paleo Meals-To-Go, based out of Denver, Colorado. I was blown away by the taste and the quality of the meals! They were so good and so easy to make that I found myself wanting to buy some to cook up at home, not just when I'm out on trips.


Mmm! Look at all those berries!
For breakfast I had their Coconut Berry Breakfast which is a hot-cereal-like meal, made out of coconut flakes, almond flour, nuts, coconut water, coconut oil, and blueberries and strawberries. I cooked it up at the trail head before a day hike up Squak Mountain near my home in Issaquah. One of the great things about these meals is all you have to do is boil water, and you don't even have to get a pot dirty because you just pour the water into the pouch, seal it up to absorb for a couple minutes, and then eat it right out of the bag. The hardest part is waiting the 3-5 minutes for it steep! The blueberries rehydrated into huge, plump blueberries that you'd expect to find fresh off a bush in the middle of summer, not the sad little pieces that are normally found in most granolas. This meal kept me powered the entire morning hiking up Squak (which got quite steep and tiring at the top), and it didn't make my stomach feel weird and heavy, like granola and oats usually do. 

I could tell I was actually eating real vegetables and meat!
For lunch at the top, I cooked up a package of their Beef Mountain Stew. I was pretty impressed when I looked at the ingredients on the package and saw that all it contained was beef, salt, onions, mushrooms, carrots, celery, spices, and garlic. Nothing else. Also this meal was so delicious I was wishing I had more of it for dinner. It tasted like I had just cooked it up at home in my own kitchen. 

Paleo Meals-To-Go also has Paleo Diet Bars that are gluten-, soy-, dairy-, and GMO-free, and contain 17 grams of egg white protein. I haven't tried these bars yet, but based on the quality of their other products, I would bet they're just as good! Every time I go to the grocery store, I scour the growing aisles of nutrition bars, looking for one that is strictly Paleo, but there aren't many out there. Hopefully this one will make its way to some grocery store shelves soon. 

Tuesday, July 29, 2014

Can It Be True? Grain- AND Nut-Free Granola!

Ho boy. Here comes the new food addiction...I'm still on a restricted diet right now, trying to figure out why my stomach feels like it wants to blow up every time I eat, so I haven't been eating nuts and many other things that are generally OK on the paleo diet. Here's a list of what I'm not eating:

  • Grains & pseudograins
  • Dairy
  • Nuts
  • Eggs
  • Nightshades (peppers, tomatoes, eggplant, potato)
  • Starches (sweet potatoes & plantains)
  • Industrial oils (canola, safflower, etc.)
  • Processed sugar (honey & maple syrup are OK, but not sugar)
  • Cocoa
  • Alcohol
  • Caffeine

In addition, all the proteins I am eating are grass-fed, pastured, or wild-caught, and all my veggies are cooked to make them more digestible. It can be difficult enough to do at home but in about a week I'm going backpacking on the coast with my boyfriend and his family for the annual escape to the ocean, and I won't be able to eat many of the things I normally do like trail mixes or plantain chips. So my biggest challenge yet is here. What do I eat for 5 days with all these restrictions? Especially for breakfasts...
Then I came upon this Paleo/Autoimmune Granola from And Love It Too, which is nut-free as well as grain-free! I tweaked the recipe a little bit, using ground clove since I was out of cardamom, and it was so good I don't even know if I want to try it with the cardamom! It's sweet and spicy and salty and super addictive. I made it a couple weeks ahead of time and I think I might end up having to make more before I go since I've been snacking on it!


In her recipe she says to bake the carrot strips at 350 until crispy, but mine turned brown and crispy, or stayed orange and soggy, so I tried doing some in the dehydrator and it worked a lot better. I tried some in strips made with a vegetable peeler and some just cut into thin coins and they both turned out great. Instead of using the vegetable setting I put them in with a batch of jerky I was making, at 155 degrees F and they were done in about an hour. I also used about three times as many carrots, since two carrots, when dried, didn't amount to much.

Carrot strips fresh out of the dehydrator.
Here's my version of the recipe:

5 cups unsweetened coconut flakes
2 TB ground cinnamon
1 tsp ground cloves
1 tsp sea salt
4 large carrots
2 cups raisins
1 cup dried apricot, chopped

Slice the carrots thinly, using either a vegetable peeler to make strips, or a knife to make coins. Spread on dehydrator trays in a single layer and dehydrate at 155 F for about an hour, until dried.
In a pan over medium heat, toast the coconut flakes one cup at a time, stirring constantly until golden
brown.
Toss all ingredients in a large bowl and mix well.


I'm planning to eat this granola in the mornings with rehydrated colostrum (one of the supplements I'm taking for my stomach) which tastes a lot like powdered milk. However, if you eat dairy, you could bring normal milk powder, or coconut milk powder, or canned coconut milk, or just eat it plain! I'm making some salmon jerky, too, for a little extra protein.

Saturday, June 14, 2014

Banana Chia Super Smoothie

So, long story short, I've been trying more elimination diets. Which means having to be more creative with things. For example, I wasn't eating coconut milk, nut milks, hemp milk, cow milk, or really any thing known as "milk" for a while, but I had all the other ingredients for a delicious-sounding smoothie in the freezer, such as frozen bananas and blackberries. So I got creative and decided to use coconut water. And I added some chia seeds in for an extra kick of energy. I know, I just sold it there. Electrolyte-packed coconut water AND the energy-boosting chia seeds of the ancient Maya and Aztecs? You probably just knocked over your computer running to your blender. Everyone's in love with the "super foods" and trendy foods that sell themselves as a panacea for whatever ails you, and I don't really believe in it all. I think all food is super as long as it's grown well, and eaten well. But still...this smoothie is damn good (especially the chocolate one). If I close my eyes while I drink it, I think it really does give me super powers.
Obviously not a backpacking food, due to the blender issue, but because of all those electrolytes and the chia-pow, it would make a great before or after smoothie for a day of hiking, biking, climbing, or whatever else. In the meantime, if you really love it, and want it on a backcountry trip, petition REI to make a hand-powered blender.

Per 1 serving (double or triple as desired)
    1 TB chia seeds
    1 frozen banana
    1/4 - 1/2 can coconut water, chilled

    Blend together. For a thicker smoothie, use less coconut water, for a thinner one, use more.

    To make a Banana-Chocolate Chia Smoothie, just add 1 TB raw cacao powder (I know what you're thinking...could I make this any more super? I really don't think so) per serving.

    Thursday, May 1, 2014

    Backpacker's Bounty Soup

    This was a recent experiment. While working my wilderness therapy job, my mainstay for dinner was a veggie soup/stew thing that consisted of whatever fresh veggies I had, chopped up and cooked with whatever meat I had, all together in a pot with some water and fat to make a broth. But I wanted to see if it would work with dried veggies, too, since that's much more economical for a longer backpacking trip (or a trip where you don't have a support base to send you out fresh food every other day). I tried this on a backpacking trip to Cedar Mesa and it turned out fabulous. The really exciting part is that it's different than other dehydrated meals I've posted in that you don't have to cook a darn thing before you go! OK, that's not true, you have to cook the hamburger meat, but it's much less work than the other meals and doesn't sacrifice anything for flavor. It was our good fortune on that trip that we ended up having to cook a whole package of bacon for breakfast one morning (someone didn't calculate the amount of dehydrated eggs we needed correctly...), so we left the solid 1/4-inch of bacon grease that we rendered in the bottom of the pot all day, and then cooked the soup in it that night, and all of a sudden, miscalculating eggs had turned into a blessing!

    1 large zucchini
    1 large red pepper
    1 large onion
    12 large mushrooms
    1/2 a package of baby spinach
    1 lb. grass-fed ground beef

    Chop all the vegetables (except for the spinach) into small pieces and lay out in a single layer on dehydrator trays. Lay the spinach out in a single layer on dehydrator trays as well.

    Dehydrate on the vegetable setting (125 degrees) of your dehydrator for about 6 hours (the spinach will take less time, so you can check on that in about 3 hours).

    After 6 hours, check vegetables for dryness. If they are still wet, add another hour, continuing to check on them until they are dry.

    Cook the hamburger meat in a frying pan until it is cooked through. Crumble it into a thin layer on dehydrator trays and dehydrate on the meat setting (155 degrees) of your dehydrator for about 6 hours.

    After 6 hours, check meat for dryness. It will still probably be greasy-looking, but you're looking for it to be sort of stiff and rubbery rather than soft and spongy. I don't have a good way to explain how to know when it's done. When in doubt, dehydrate longer. It's hard to over dry things.

    Once everything has been dried, combine it all in a Ziploc bag and keep it in the freezer until ready to use.

    To Rehydrate:


    • Backpacker's Bounty Dried Mix (from steps above)
    • 1/2 cup fat of your choice (this is the bulk of your calories in this meal, and the tasty-fying part)
    • sea salt


    Put contents of Ziploc in your pot. Pour in enough water to cover, and then some (remember, it's a soup!). When we rehydrated this, I think we dumped a whole liter in it.

    Add copious amounts of the fat of your choice (coconut oil, butter, lard, bacon grease).

    Bring to a boil, and cook for about 5 minutes, or until you can tell the veggies and meat are getting tender. Turn off the heat, put the lid on, and let sit for 5-10 minutes (This step is important! It really soaks up more water and rehydrates better during this time.).

    Salt liberally and serve it up!

    Basque Pork Meatloaf

    Brought this one on a recent trip. So good!
    Meatloaf. It is so good and so easy. I love it so much in fact that I have a book called Everybody Loves Meatloaf. Check it out, it's a good one. It's not Paleo, therefore all the recipes have breadcrumbs in them, but I've discovered that if you just leave them out, it turns out fine, and all that happens is you get a lot of meat juice left over in the pan. Which is actually awesome because I just save it and cook a pot of greens in it, and they usually end up being just as delicious as the meatloaf, if not better. I've also discovered that meatloaf works as a dehydrated meal! So exciting! This recipe is adapted from Everybody Loves Meatloaf  by Melanie Barnard. Drain off the excess fat before you dehydrate it since fat hinders the drying process (unfortunately). You can always add more fat in after you rehydrate.

    1/2 lb. smoked ham
    1 lb. ground pork
    1/2 cup green or black olives, pitted and sliced
    1 small red onion, chopped
    3 cloves garlic, minced
    2 TB tomato paste
    1 TB dry sherry
    2 tsp. paprika
    1 tsp. grated orange peel
    2 eggs
    1 cup chopped roasted red bell peppers

    Dinnertime in the backcountry - rehydrating some meatloaf. 
    Heat oven to 350F. Chop ham, then process in food processor until finely chopped.

    In a large bowl, combine and mix pork, olives, onion, garlic, tomato paste, sherry, paprika, orange peel, eggs, roasted red bell peppers, and ham.

    Press mixture into a 9x5-inch loaf pan.

    Bake until the meatloaf is firm and a meat thermometer inserted into the middle reads 155 degrees. This takes about 1 hour.

    After it cools, crumble it and spread it as thinly as possible on dehydrator trays.

    Dehydrate at 155 (the meat setting on some dehydrators) for 6-8 hours, checking at the 6 hour mark and leaving it in for as long as needed to feel dry and brittle. Because of the fat content it will probably still be a little shiny and possibly "wet," but get it as dry as you can. I don't think you can really over dry meals.

    Backpacking Cedar Mesa: 4-Day Menu

    This last week I had a good friend from Wisconsin visit who had never been to the Southwest, so Max and I planned a backpacking trip with her to Cedar Mesa, an incredible area of Southeastern Utah. We hiked the Kane Gulch to Grand Gulch trail in the Grand Gulch primitive area. 
    Melissa and Me
    The coolest thing about this site is that it used to be populated by the Anasazi and you can still see the ruins of their houses, kivas (ceremonial structures), middens (trash heaps), and granaries (food storage structures), as well as their rock art. I never knew the difference between petroglyphs and pictographs, but the rangers for Grand Gulch have put interpretive information into water-tight ammo cans and from these I learned that petroglyphs are pecked into the rock and pictographs are painted on. Their middens were full of broken pottery shards, some of them painted with black geometric designs, and some meticulously carved with repeating patterns. We could also see signs of their fires - the walls above their homes permanently blackened with soot, bringing them to life even more.
    Me and Melissa looking in on a kiva - a ceremonial structure.
    The biodiversity in the canyon was amazing - more greenery than I've ever seen in southern Utah. We had brought along a book on medicinal plants of the Southwest but were only able to identify globe mallow and wild rhubarb, beyond the sagebrush, juniper trees, and prickly pear cacti which we already knew well from our year and a half living down here. The Anasazi who lived here before tended the land, growing corns, beans, and squash, and probably many other plants. Some openings in the canyon were large enough to imagine them as an ancient garden, and when we climbed up to one of the ruins, the large rock bench they sat on were populated with many plants we hadn't seen so far on the hike, making us think it used to be part of a cultivated garden. That's just speculation, but it was an interesting difference with the rest of the landscape.

    The structures were peppered through the canyon with such regularity that whenever I would think to myself, "I haven't seen a ruin in a while," I would look up and there would be one right above me. Some of them were really high, too, making you wonder how difficult it was to build the structures up there and what it would be like to climb ladders that high, unprotected.

    As an added bonus to the trip, we (unfortunately) found out that there would be no water available at our site we planned for the last night in the canyon, so we hiked out a day early and drove to Burr Point to sleep on the edge of a canyon overlooking the Dirty Devil River and wake up to the sunrise. On the way we were burning up in the car and were able to stop at the Colorado River and take a little dip. Mmmm...nothing better than dipping in cold cold water. My dad's friend likes to say it's "tonic - nasty but good for you."

    A whole pot of bacon for breakfast!
    We had beautiful weather the whole time, and made it out the day before it was supposed to make a turn for the worse. And I was extra excited because I had several dehydrated meals sitting in our freezer that I'd dried in past years but never tried out. They ended up being delicious and I'll post the recipes shortly for those. And this menu is still dairy- and nut-free.

    We brought dried eggs for breakfasts, but then realized on the first morning out that we didn't actually have enough for the week. But luckily we'd brought a whole pack of bacon so we just ate that and some Lemon Chia Seed Muffins that I'd made beforehand, and saved the eggs for the rest of the week.


    Basque Pork Meatloaf on the first night
    All the dinners were dehydrated meals which saved a lot of weight and space. The biggest source of weight was lunch foods. We brought several fresh vegetables, but like I've said before I really don't mind carrying the extra weight in order to have fresh veggies. I didn't keep super close track of what I ate every day, so I'm doing the outline for the main meals and at the bottom I'll list all the snacks I brought, which I ate whenever I got hungry, or with meals if I needed more food. I'm writing it as if it's for 1 person (me), but since we had 3 people, we obviously brought more and cooked more than what's listed. You'll also see in the snacks sections that I brought some rice tortillas. Yikes. Sorry that's not Paleo, but it was really nice to have a little extra carbs to eat with dinner or breakfast.

    Monday

    Breakfast
    • Fresh eggs & bacon at our morning car-camping site
    Lunch
    Dinner
    Dessert
    Melissa lunching on a 
    salami bowl by a little creek.
    (Note the Lake Superior tatt on her shoulder.)


    Tuesday

    Breakfast
    Lunch
    Dinner
    Dessert
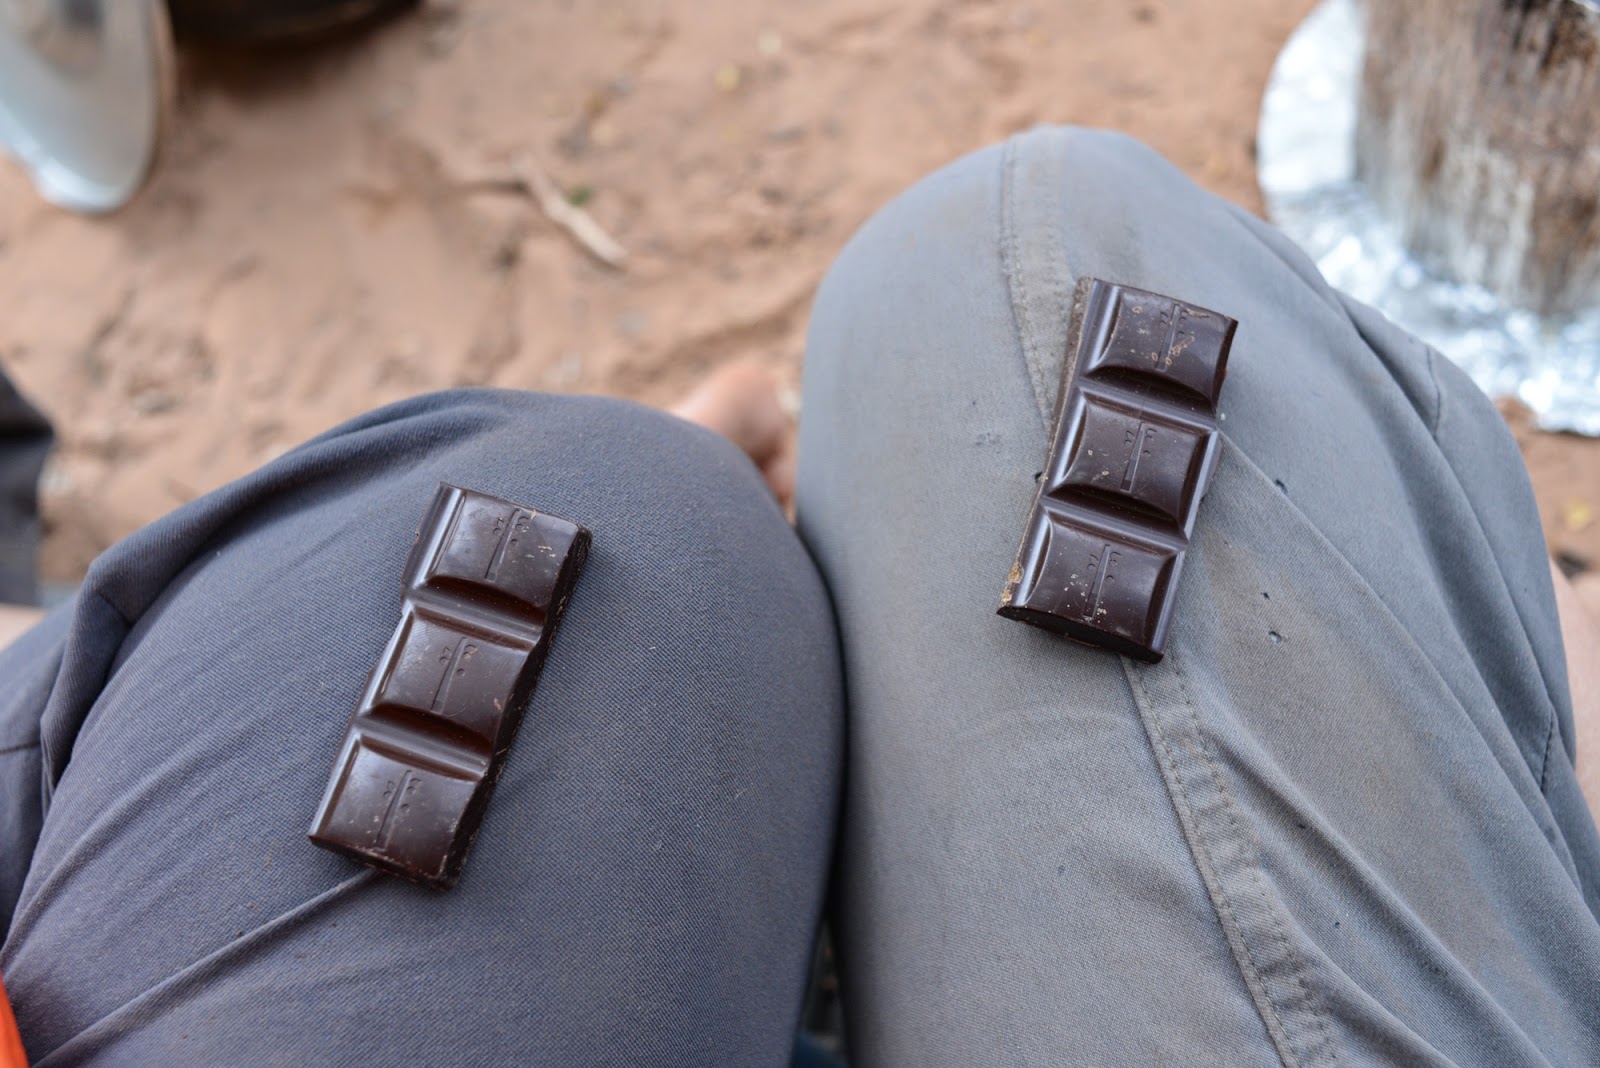
    • Couple squares of chocolate


    Wednesday

    Breakfast
    • About 1 1/2 dehydrated eggs cooked in coconut oil (since we didn't bring enough, we had to ration)
    • 1 Lemon Chia Seed Muffin
    Lunch
    • Backpacker Tuna Salad - 1 tuna packet, 1/2 carrot, 1/3 avocado, 1/6 cucumber, 1/3 apple, 2 TB golden raisins, 2 TB sprouted sunflower seeds, olive oil, mustard, sea salt
    • 1/6 bag Sweets & Beets Terra Chips
    Such a satisfying dessert in the backcountry.
    Dinner
    • Greek Moussaka
    Dessert
    • Couple squares of chocolate

    Thursday

    Breakfast
    Lunch
    • 2 & 1/3 hot dogs w/ mustard
    • 1 large carrot
    • 1/3 avocado
    • l/6 cucumber
    • 1/6 bag Sweets & Beets Terra Chips
    • couple handfuls sprouted sunflower seeds
    Dinner
    • Salmon Chowder
    Dessert
    • Couple squares of chocolate

    Snacks

    • half-eaten jar of coconut butter (yes I brought a glass jar on a backpacking trip)
    • small bag of olives (about 30)
    • 1 package of Wellshire Family Tom Tom Turkey Sticks
    • 1 pint-size bag Maple-Sage Grass-fed Beef Jerky (for all of us to share)
    • couple apples
    • couple extra carrots
    • bag of toasted coconut flakes
    • sprouted sunflower seeds
    • 1/2 pint-size bag homemade dried apples
    • 3 Food For Life rice tortillas
    • tea

    Extra Food (things I thought I might eat if I got really hungry but never did)

    • 3 tins oysters
    • another package of Tom Tom Turkey Sticks

    Sunday, April 27, 2014

    Indian Creek: 2-Day Menu

    So I've started something new which may interest some of you. I'm officially done working wilderness therapy which means I'll have a lot more time and freedom to control my own food. Since my stomach has been bothering me a bit more lately, I've decided to cut out dairy and nuts, now that I don't need to depend as much on cheese and trail mix. Now if I'm hungry and grumpy while I'm out on trips, at least I won't have to deal with a large group of teenagers at the same time. Also, some of you are probably dairy- and nut-free and will appreciate some ideas to replace the cheese and trail mix. It seemed a little difficult at first, but once I got the hang of it, it wasn't bad.
    The Fin
    A couple weeks ago I went on my first crack-climbing trip to Indian Creek. I went with some friends from work and had a nice time with some great weather and great people. And I made sure to set the bar pretty low for myself, so I was amazed at how much better I did than I had expected. Most of the climbing I do is bouldering, so I find that I suffer when I have to stay on the wall for more than the 30 seconds that it usually takes to climb a large rock. Also, I've only ever climbed one crack and that was on a boulder that was about 8 feet tall, so I wasn't expecting great things at notorious Indian Creek. However, I sent a couple 5.9's, a 5.10+ (that was my favorite - a 3-finger crack called The Piano), and what we think was a 5.11- with an overhanging roof (although this last one was with a little help from my belayer...). And I successfully ate dairy- and nut-free the whole time! It required a little preparation beforehand, but it was worth it. I also got a little nervous that I didn't have enough food when we got to Moab so I bought a tub of guacamole and a package of Applegate Farms Genoa Salami at the City Market, which turned out to be an awesome choice; I was well-fed the whole time.
    My friend Alicia on The Piano

    Friday (left Salt Lake around 5pm, didn't get there til about midnight)

    Dinner
    • A jar of leftover ham soup & some olives
    Midnight snacks
    • Couple spoonfuls of guacamole
    • 1 oz. salami
    • olives
    • coconut butter

    Saturday

    Breakfast
    Lunch/Snacks
    • 1 17 oz. can coconut water 
    • 2 grass-fed pepperoni sticks 
    • 1 large carrot 
    • Red Pepper & Turkey Sandwich (with 1/4 avocado in place of the cheese)
    • multiple spoonfuls of guacamole 
    • multiple spoonfuls of coconut butter 
    • couple slices of cucumber
    Dinner

    Sunday

    Breakfast
    Lunch/Snacks
    • 2 grass-fed pepperoni sticks 
    • 1 large carrot 
    • 1 baked sweet potato (cooked at home)
    • Red Pepper & Turkey Sandwich (with 1/4 avocado in place of the cheese)
    • olives
    • multiple spoonfuls of guacamole
    • multiple spoonfuls of coconut butter
    • couple slices of cucumber
    Dinner - Back at home

    Food Totals

    • jar of leftover ham soup
    • pint-size container of olives (from the bulk olive bar at Whole Foods)
    • pint-size container of guacamole
    • 1 17-oz. can coconut water
    • one half-finished jar of coconut butter
    • 1 package Applegate farms Genoa Salami
    • 4 grass-fed pepperoni sticks
    • 2 oz. grass-fed summer sausage
    • 2 large carrots
    • 1 cucumber
    • 1 baked sweet potato
    • 6 hard-boiled eggs
    • 1 red pepper
    • 1/2 pound sliced deli turkey
    • 1/2 avocado
    • 1 small jar olive oil & vinegar salad dressing (for the Red Pepper Turkey Sandwiches)
    • olive oil & mustard for the eggs in the morning
    • 1 large tupperware BOM-Ass Summer Sausage Stew

    BOM-Ass Summer Sausage Stew

    This is the worst name I could possibly think of for this creation, but also the only name I could think of. Instead of calling it Broccoli Onion Mushroom-Ass Summer Sausage Stew, I decided to shorten it. Catchy, hmm? It's super easy to make and really satisfying. For some reason I really love the broccoli-onion-mushroom combo. I don't have amounts listed here because I just cut up as much as will fit in my pot and then cook it. I use roughly equal amounts of each vegetable, and as much meat as I feel I need. It's not really a light-weight or space-saving meal, but it's perfect for shorter trips. It may seem strange to use so much water, but it does a nice job of making sure the veggies don't burn, and as a bonus, it mixes with the coconut oil and makes a delicious, nourishing broth. I used to try to sauté things more, but that's pretty tough to manage on a fire or a Whisperlite. So now I just throw it all together and it always turns out perfect!

    Broccoli
    Onion
    Mushroom
    Grass-fed Summer Sausage
    Coconut Oil
    Water
    Sea salt

    Chop the vegetables and summer sausage and throw them in your pot. The smaller you chop them, the more you can fit in the pot, which is nice because it cooks down. Add as much coconut oil as you want, then enough water to come about 1/4 to 1/3 of the way up the pot (with everything already in it). Bring it to a boil and let it cook with a lid on, stirring every once in a while. You may need to add more water if the pot starts to go dry. When everything is cooked to your liking, remove from the heat and salt liberally. It doesn't take too long to get the veggies soft and cooked-through.

    Friday, January 17, 2014

    Red Pepper Sandwiches

    I stumbled upon this idea while blog-browsing and decided to try it out on a recent climbing trip to St. George. And they were sooo DELICIOUS! We had some leftover salad dressing in a leak-proof bottle and I think that really made the difference. We decided to make them open-faced sandwiches instead of close-faced, since it was too much red pepper otherwise. And obviously you aren't limited to these ingredients. Avocado, lettuce, or bacon would go really great on these, too! Original credit goes to The Primal Parent.


    Makes 1 serving

    1 red bell pepper
    4 oz. sliced deli turkey breast
    1 oz. thinly sliced raw, grass-fed cheese
    1 TB salad dressing of your choice

    Cut the bell pepper in half, remove the seeds, pith, and stem, and cut slits in the top and bottom to help make the bell pepper lay flat(ish).
    Lay on several slices of the turkey breast, then drizzle the salad dressing on top (the turkey helps absorb the dressing better than the cheese so it's a little less messy than pouring it on top).
    Top with several slices of cheese.
    Eat!

    Lunch break at the Black Rocks in St. George!